GALLERY
For information about the size of the sculpture and its story, CLICK on each picture.
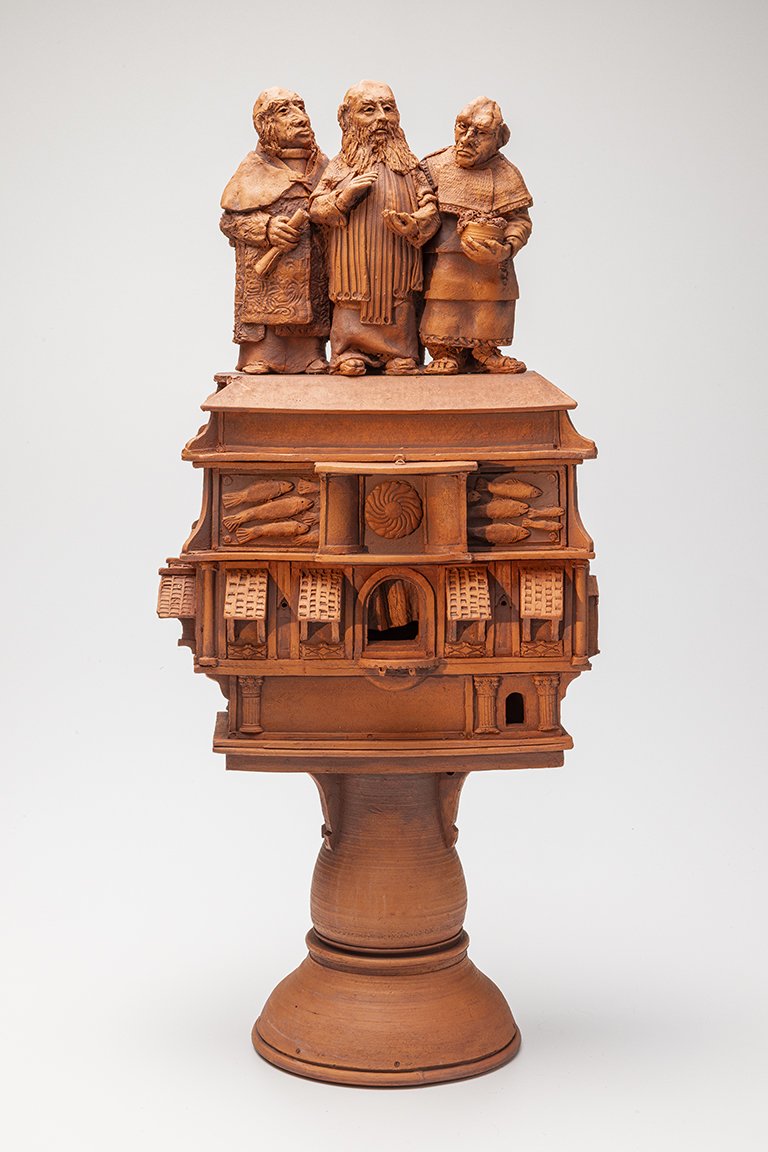
DEPARTURE
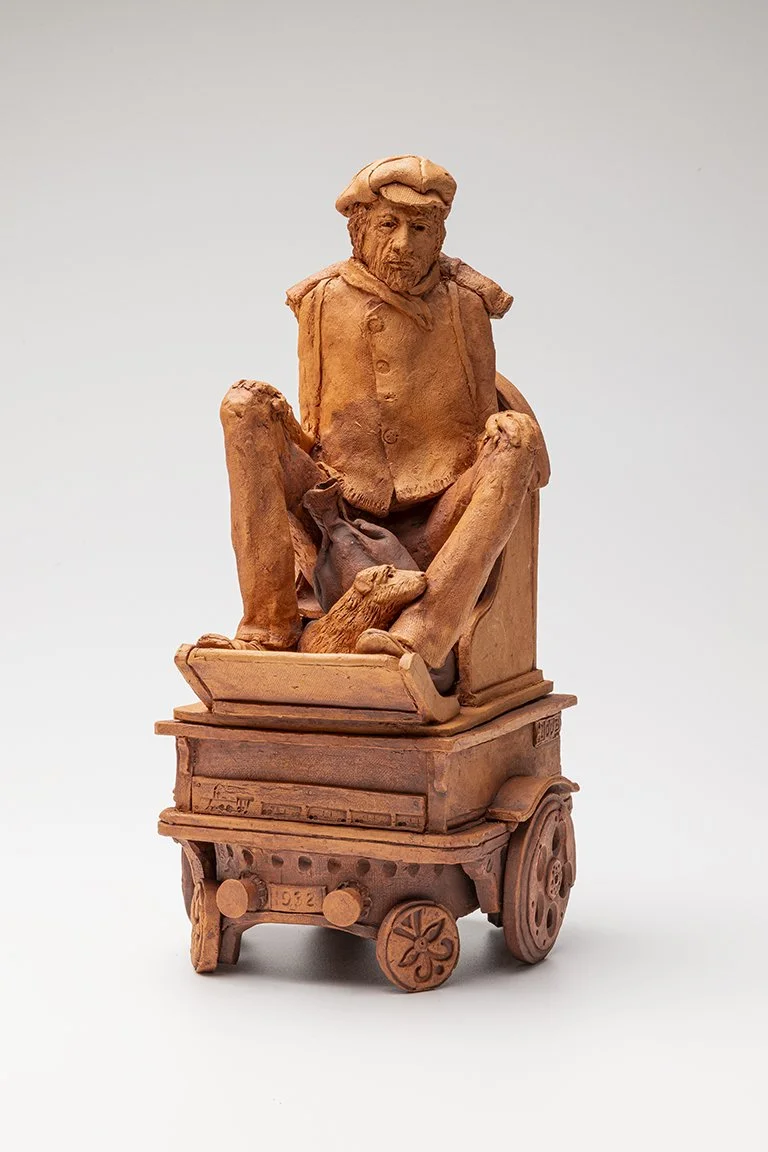
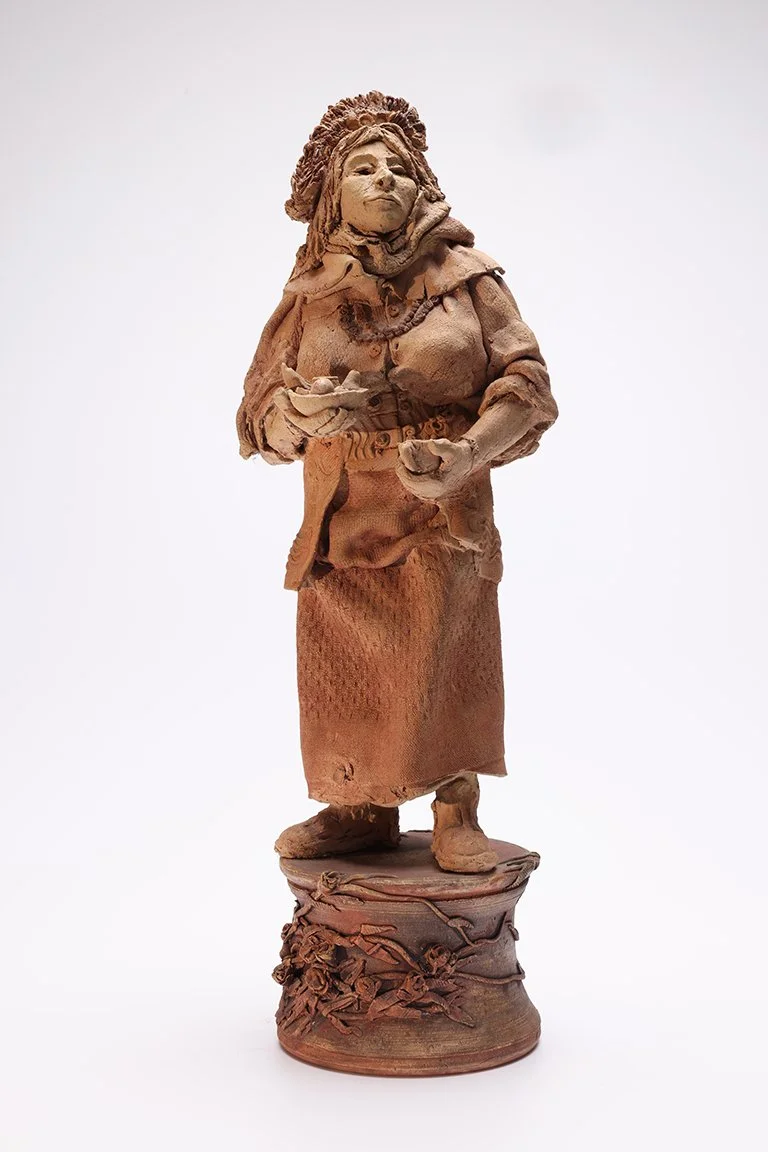
MENDICANT ~ See Archive CVG
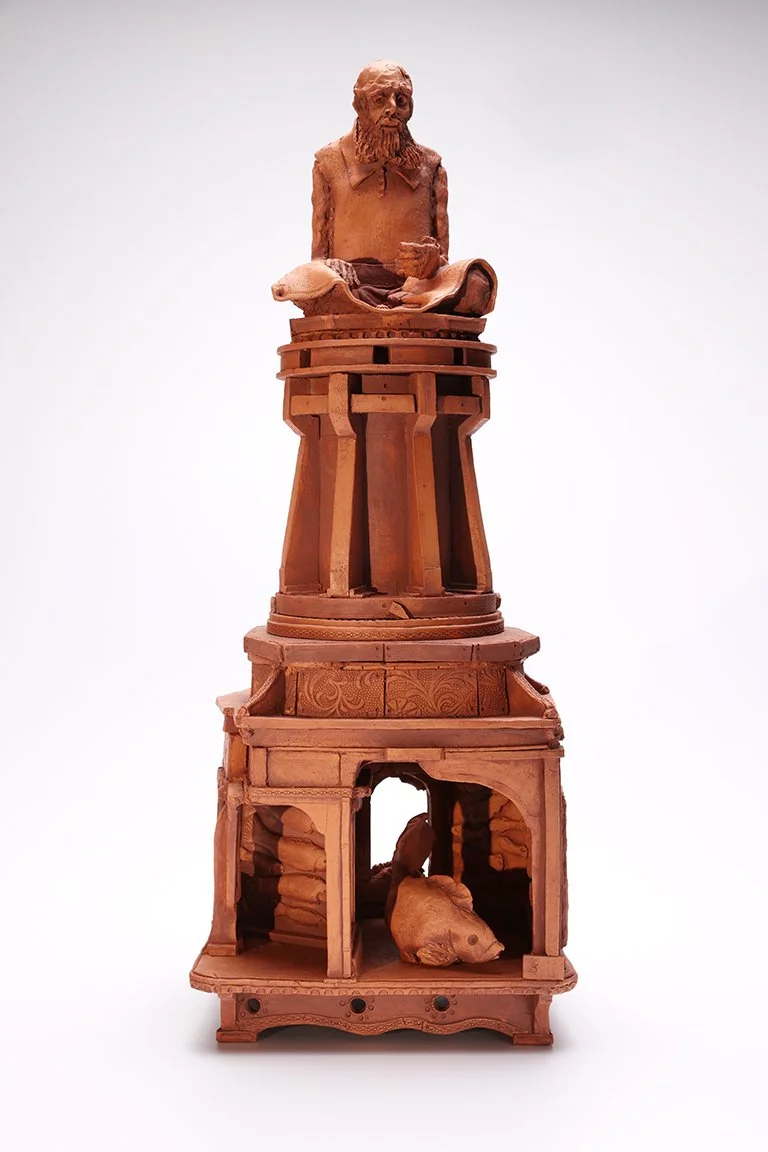
DEMOS THE SAILMAKER
SANCTUARY (Gaza/Ukraine) ~ Private Collection
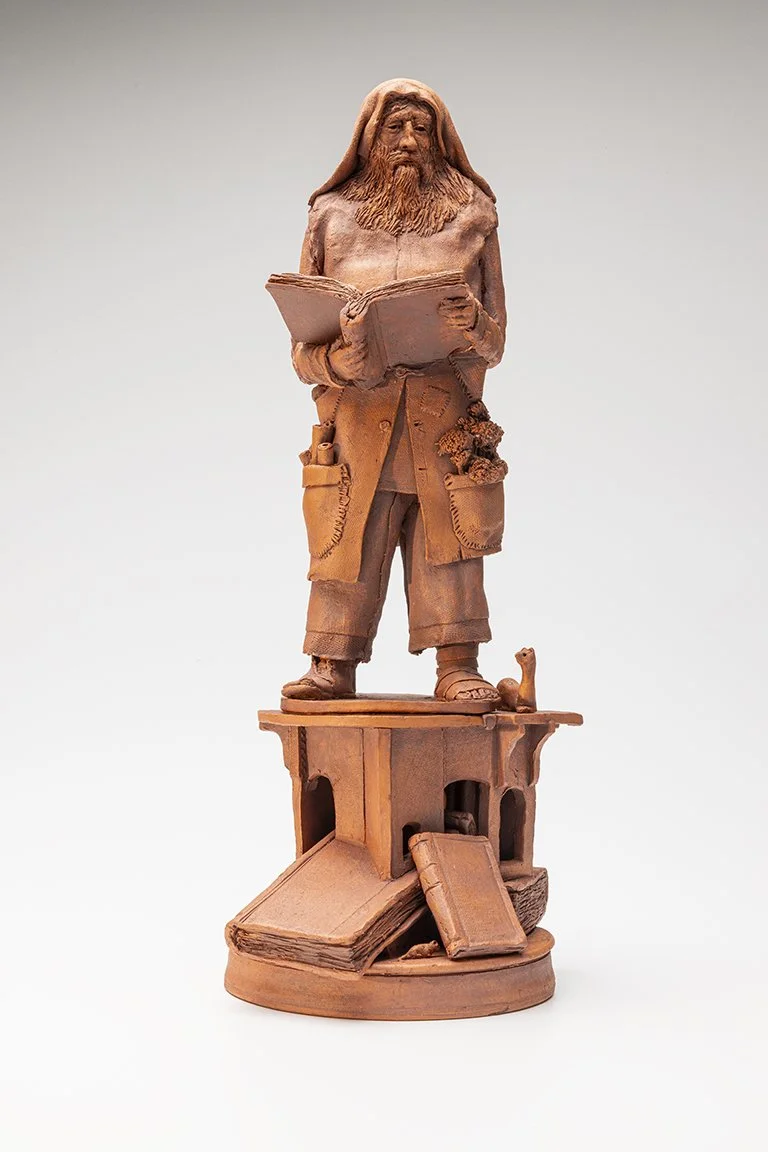
FORGOTTEN BOOKS ~ See Archive CVG
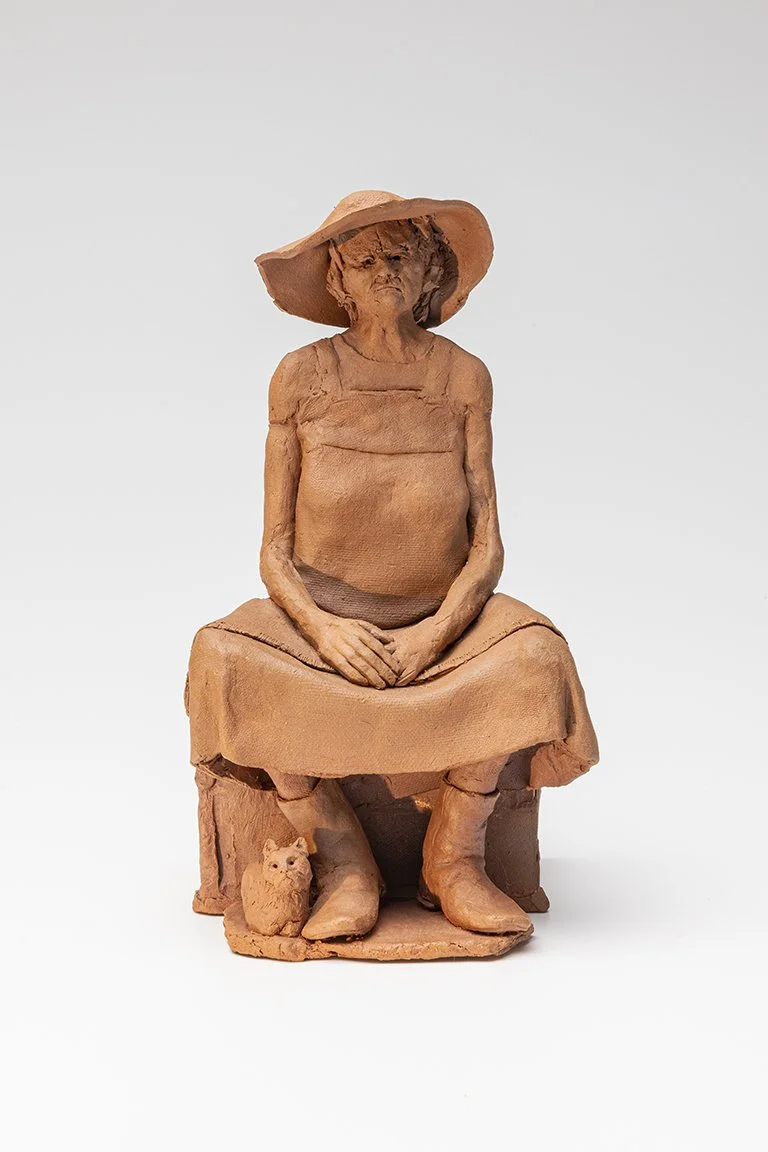
MARTHA AND HER CAT ~ See Archive CVG
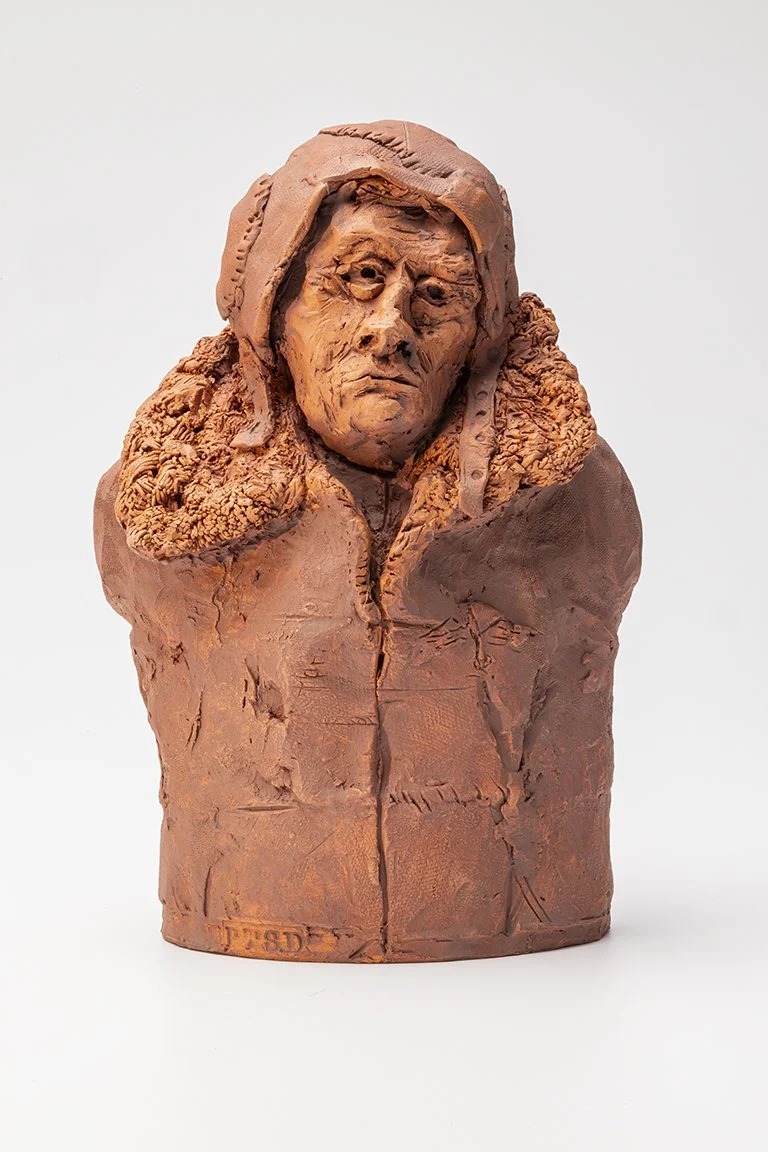
NOTHING LEFT TO PROVE ~ See Archive CVG
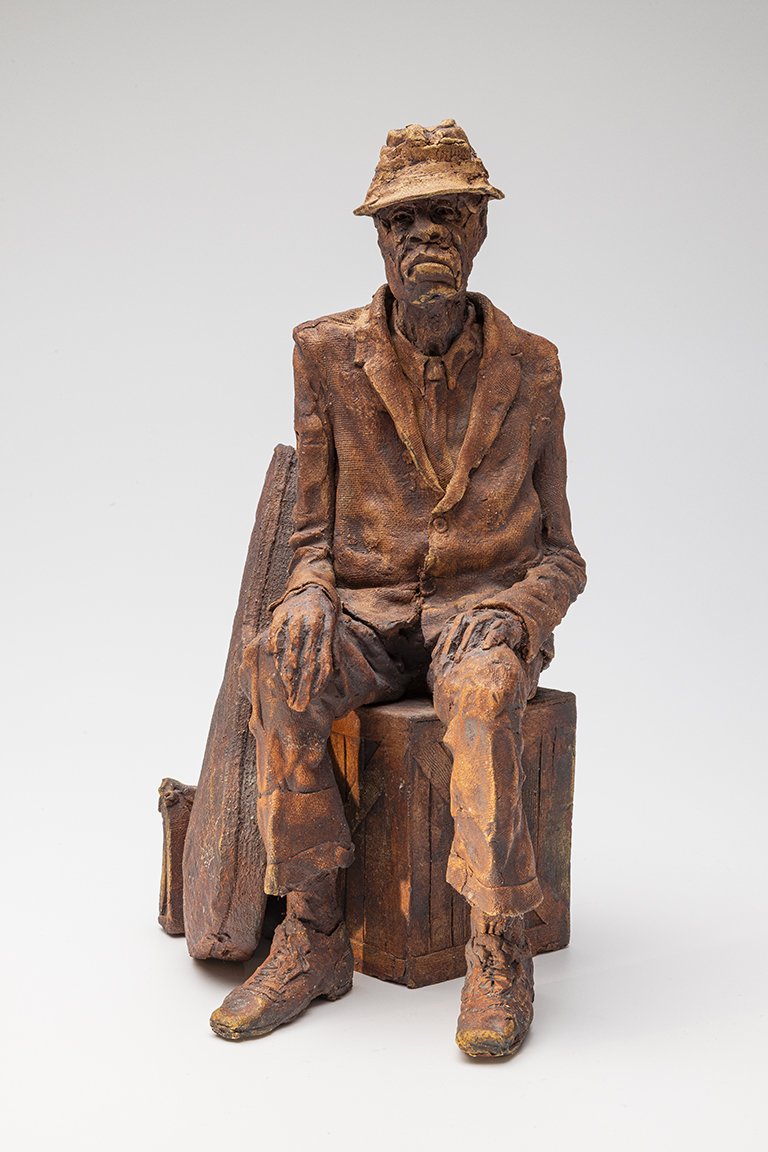
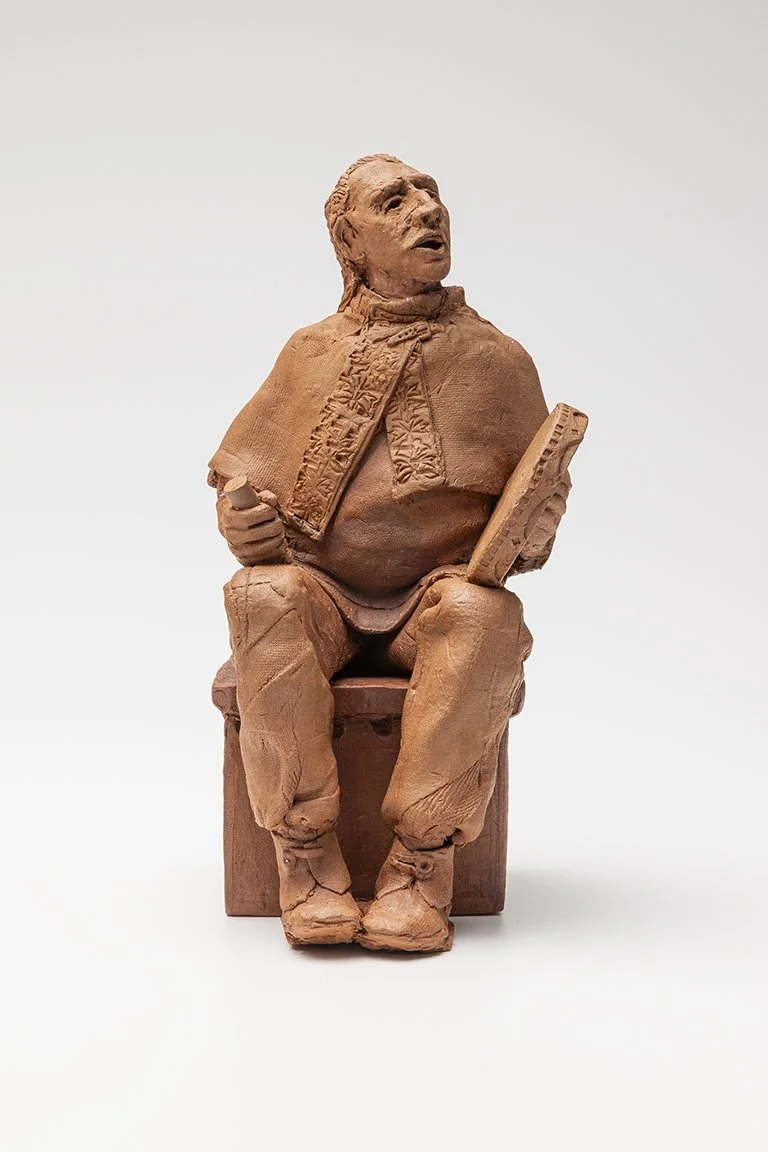
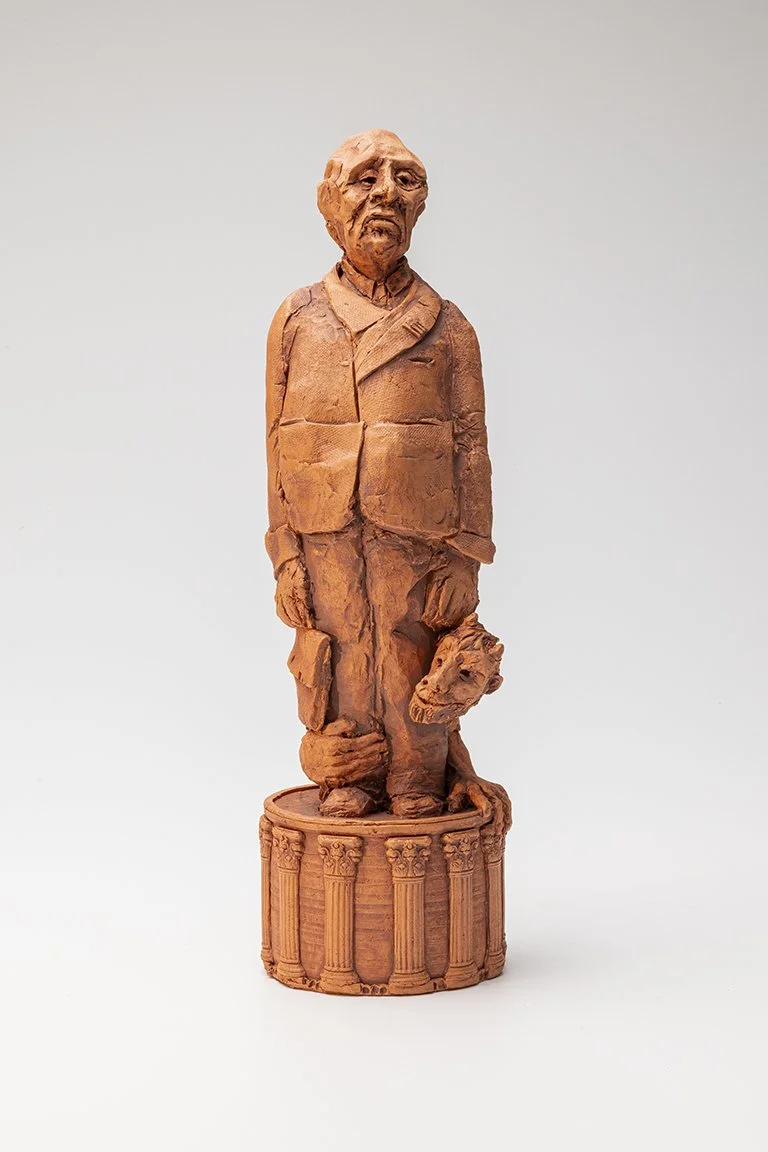
FRANK JOAD ~ See Archive CVG
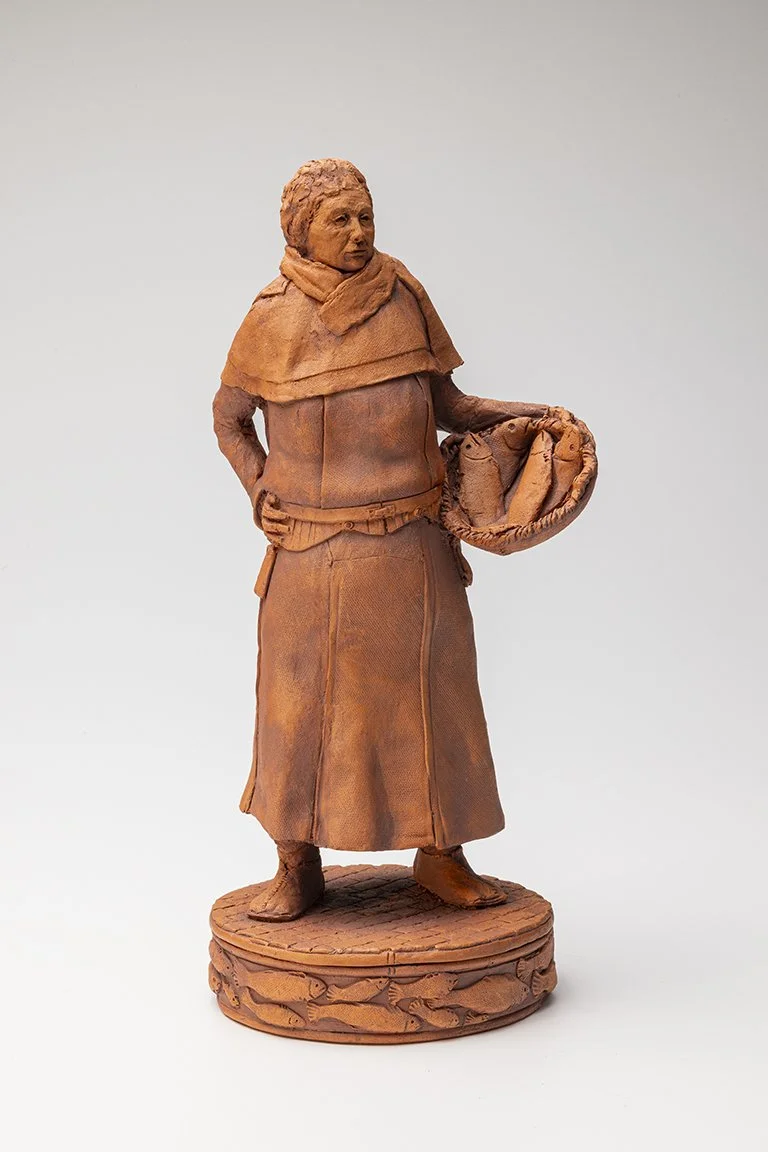
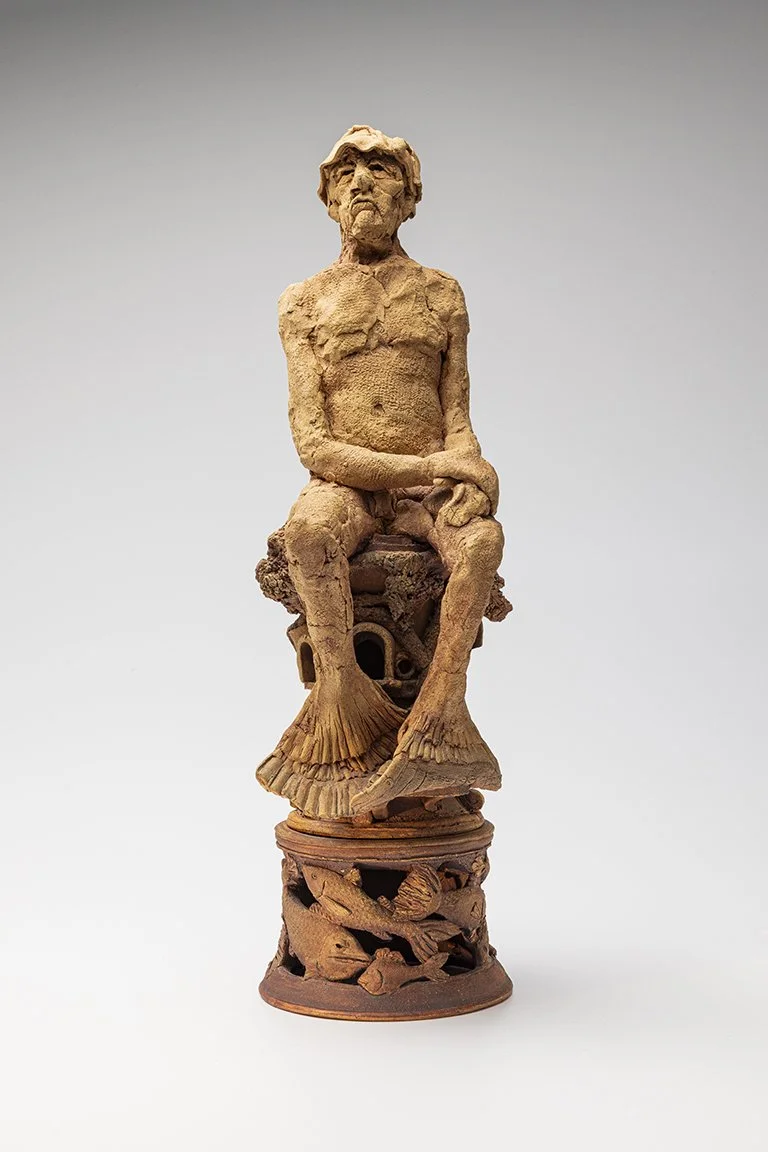
MOTHER FISH AND HER 4 KINGS ~ See Archive CVG
ORIGIN SONG
DRESDEN 1945
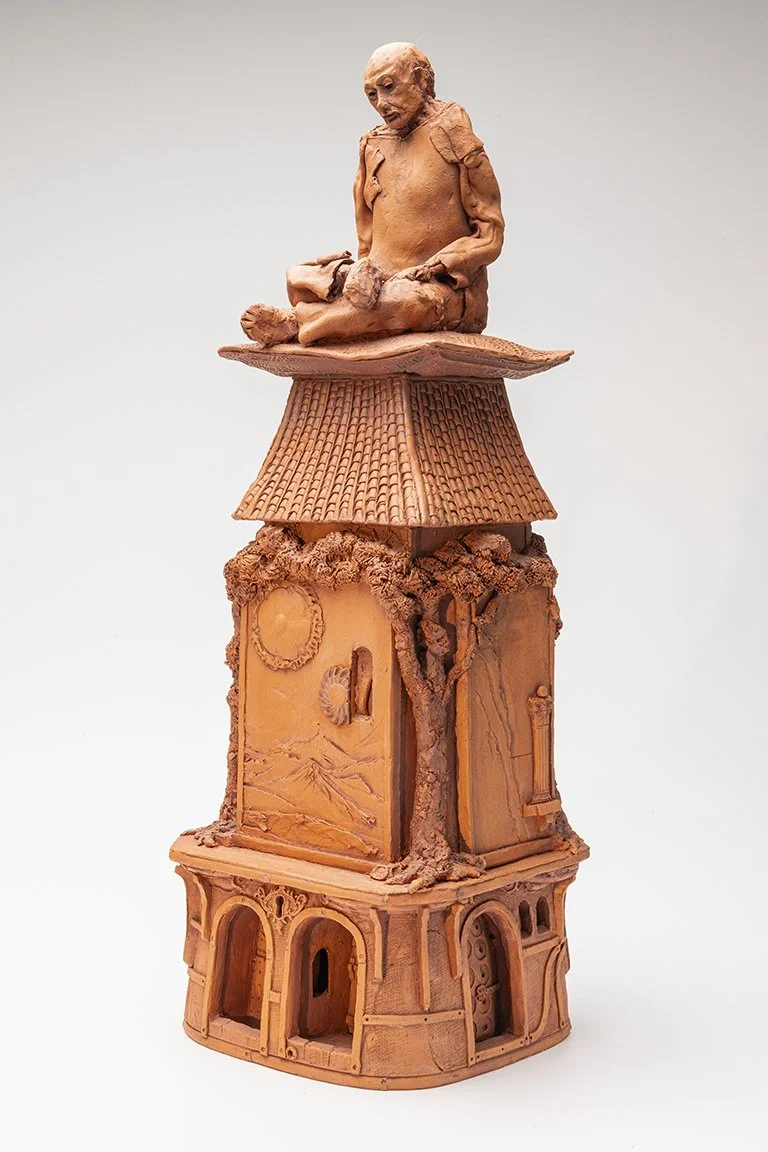
LIGHTHOUSE
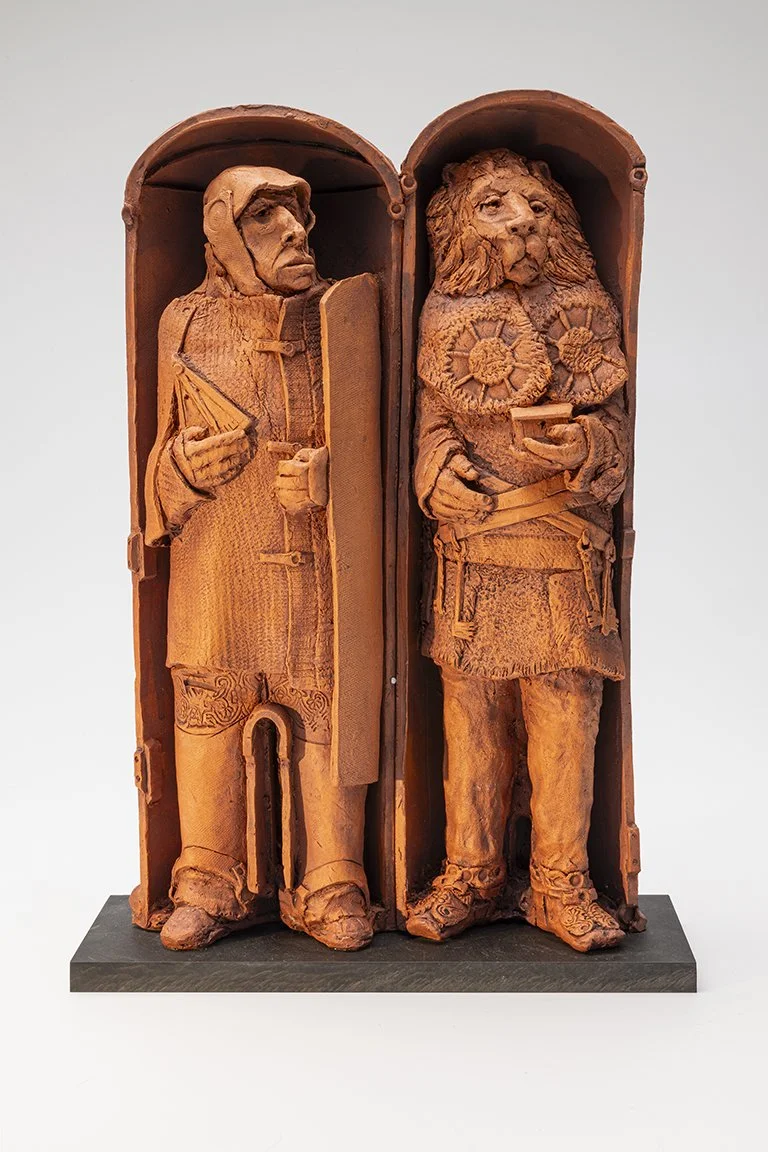
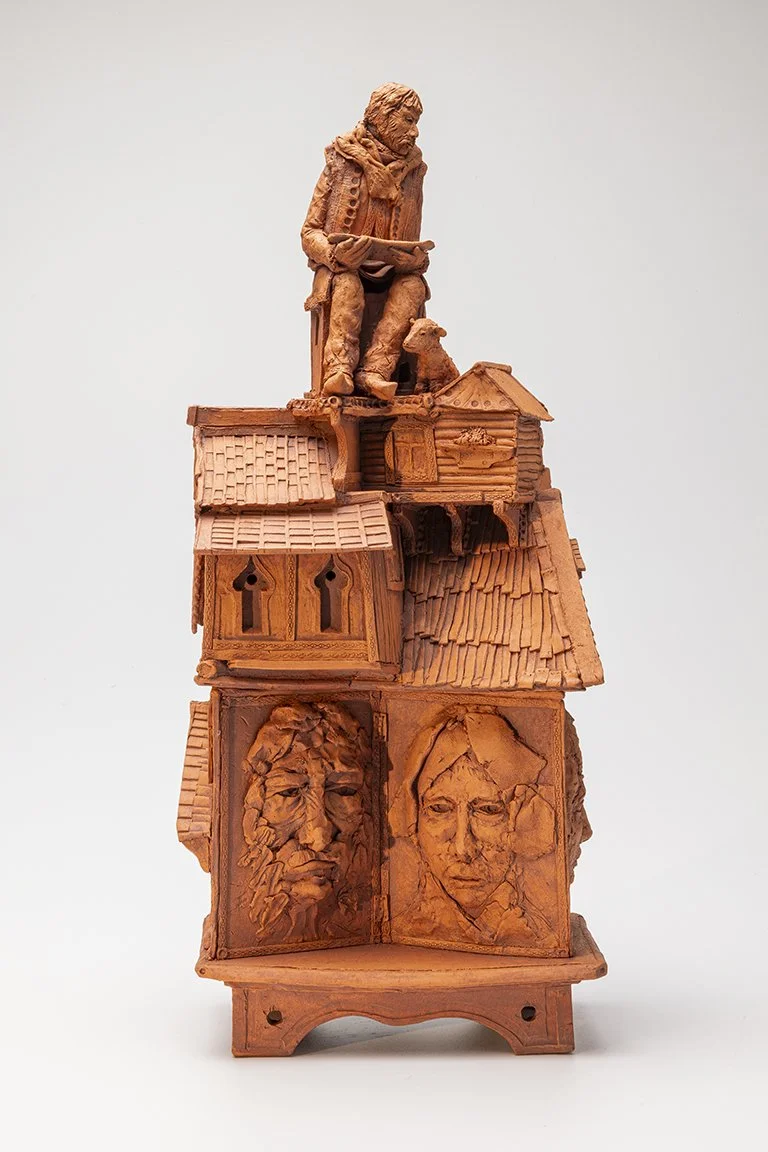
HOUSE GUARDIANS ~ See Archive CVG
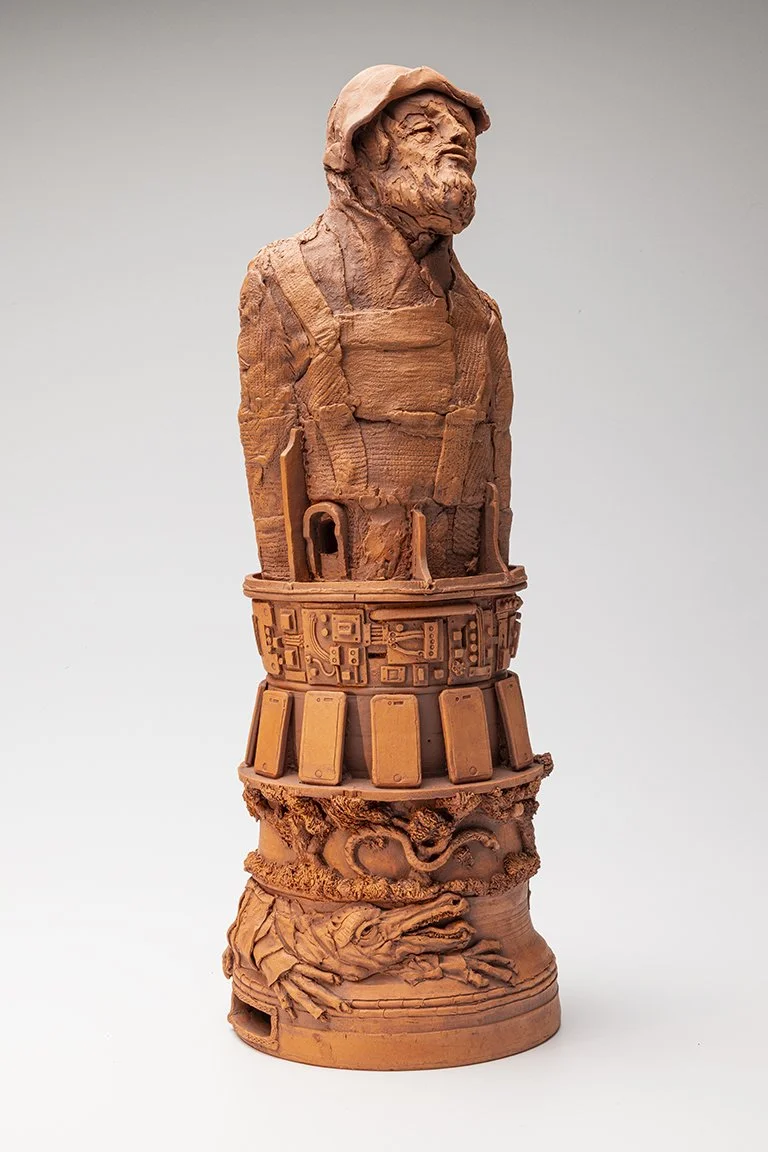
GERRYMANDER
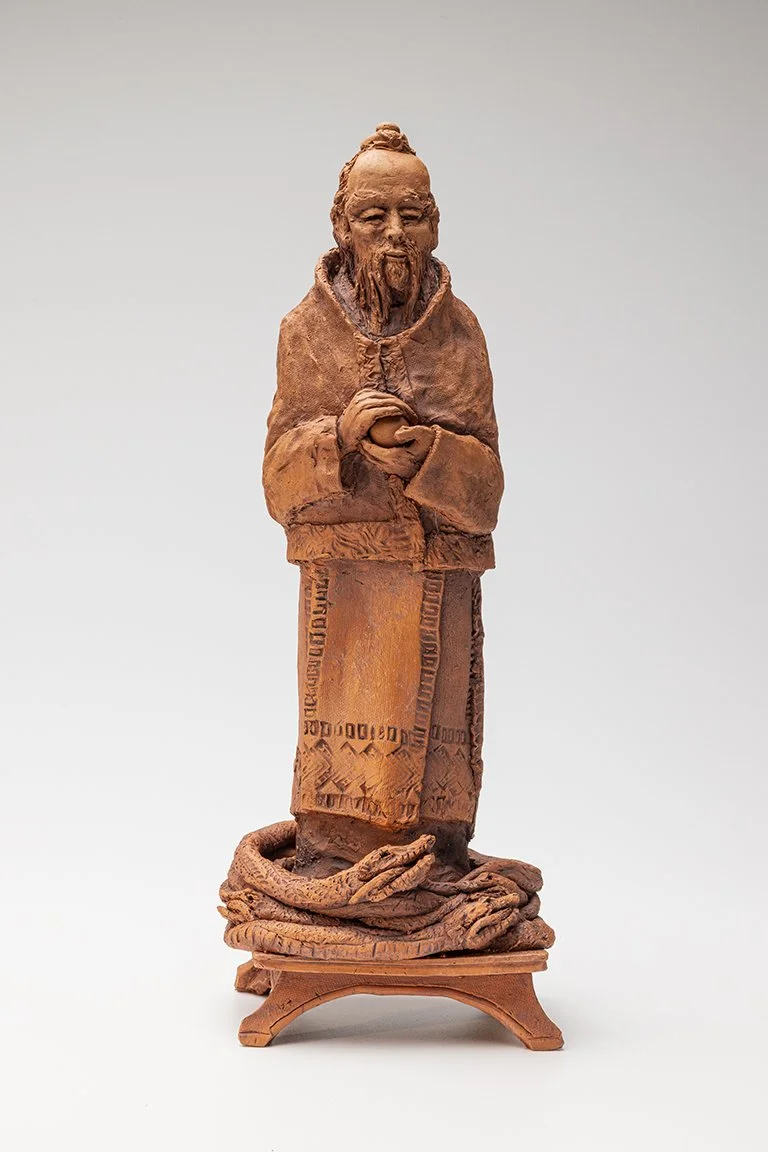
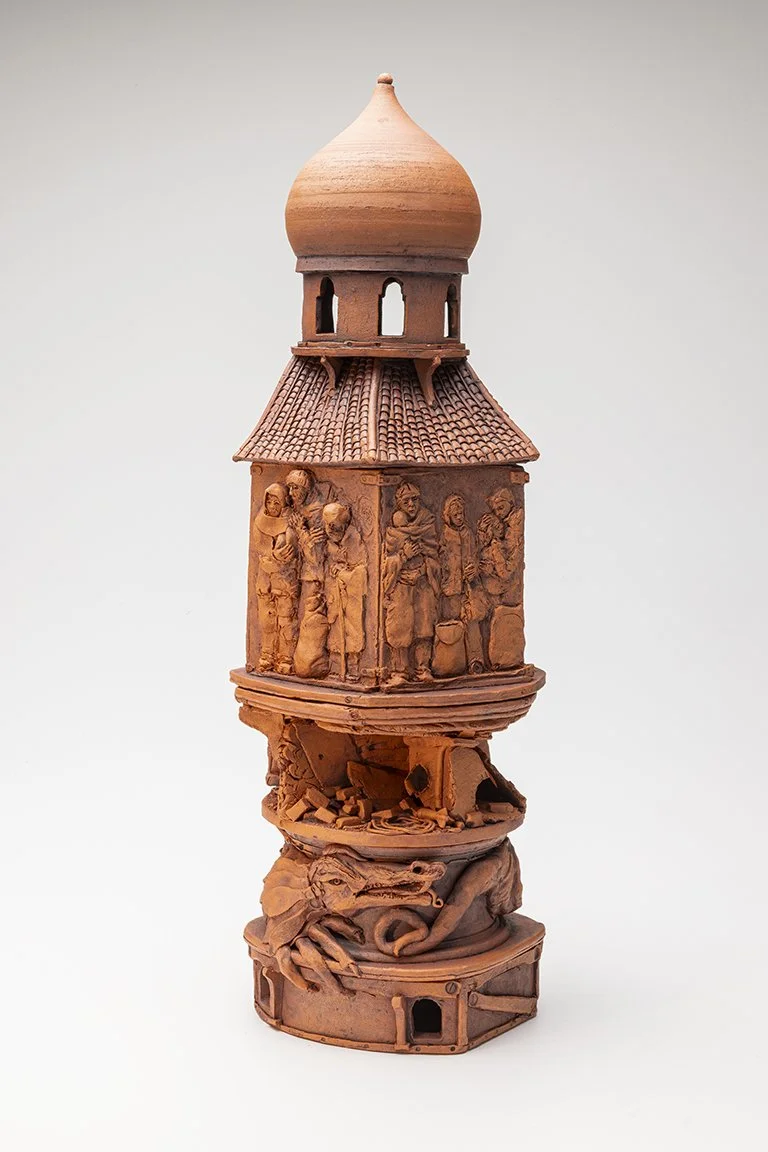
SERENITY IN A TIME OF SNAKES ~ See Archive CVG

GREEN MAN
RETURNING ~ Private Collection
SUZANNE ~ See Archive CVG
SHADOWS OF FORGOTTEN ANCESTORS ~ See Archive CVG